Last updated: June 26, 2024
Install DQOps from GitHub
This guide shows all the steps to check out DQOps source code from GitHub, and compile the code locally. If you know SQL, Python, or Java, you can contribute.
Prerequisites
To pull dqops/dqo project from GitHub and compile it locally, you need:
-
Python version 3.8 or greater (for details see Python's documentation and download sites).
To confirm that you have Python installed run the following command
To view the Python 3 version, run
python3 --versioninstead. -
Ability to install Python packages with pip.
To confirm that you have pip installed run the following command
Current version of pip should be displayed.
-
Installed JDK software (version 17) and set the JAVA_HOME environment variable.
To confirm that Java is installed on your system, please run this command:
A Java version should be displayed. If the above command shows 'java' is not recognized, it means Java is not installed or the path is not properly set.
To ensure that the JAVA_HOME environmental variables are properly set, please run the following command:
Installation
-
Create an empty folder.
-
Open a terminal, navigate to the created directory and clone the DQOps repository from GitHub.
-
Change the directory to the one with the downloaded repository and start the compilation by running the following command.
The first compilation should take a few minutes. DQOps will be started instantly after it was compiled.
-
Initialize DQOps
DQOps User Homefolder.After installation, you will be asked whether to initialize the DQOps
DQOps User Homefolder in the default location. Type Y to initialize the folder content.
TheDQOps User Homefolder locally stores data such as sensor readouts and checkout results, as well as data source configurations. Read the DQOps user home folder concept to learn more.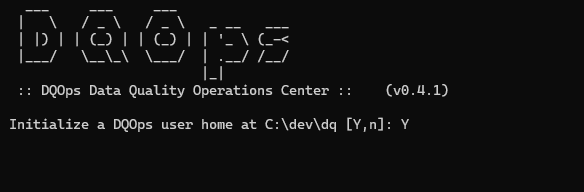
-
Login to DQOps Cloud.
To use all DQOps features, such as storing data quality definitions and results in the cloud and the data quality dashboards, you must create a DQOps Cloud account.
Once the
DQOps user homefolder is initialized, DQOps will ask you to log in to your DQOps Cloud account.
After typing Y, you will be redirected to https://cloud.dqops.com/registration, where you can create a new account, use Google single sign-on (SSO) or log in if you already have an account.
During the first registration, your DQOps Cloud pairing API key will be generated and automatically retrieved by DQOPS application. The API Key is now stored in the configuration file. You can close the browser window that shows your https://cloud.dqops.com/ account. Since now on, your local DQOps instance is fully functional and can work mostly offline.
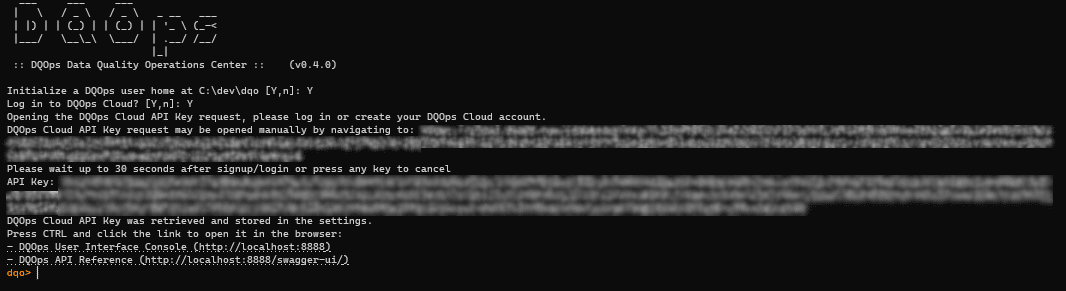
-
Open the DQOps User Interface Console in your browser by CTRL-clicking on the link displayed on the command line (for example http://localhost:8888) or by copying the link. You will see the welcome screen as shown below.
